

Adobe Acrobat – Organize pages
Acrobat DC is a powerful tool for managing and editing PDF documents. One of the key features of Acrobat DC is the ability to organize pages within a PDF document. We’ll take a look at how to organize pages inside Acrobat DC.
- Open the PDF Document The first step in organizing pages in Acrobat DC is to open the PDF document you want to work on. To do this, launch Acrobat DC and click on the “Open” button in the home screen. Navigate to the location of your PDF document and select it. The document will open in Acrobat D
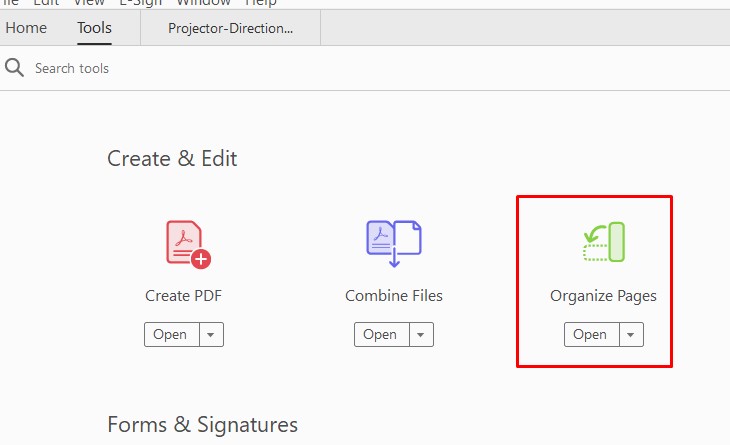
- Click the Tools menu option

- On the Tools menu choose Organize Pages
- Once your document is open, you can rearrange the pages by clicking and dragging them to the desired location. You can also use the “Move Page” command to move pages up or down one at a time.
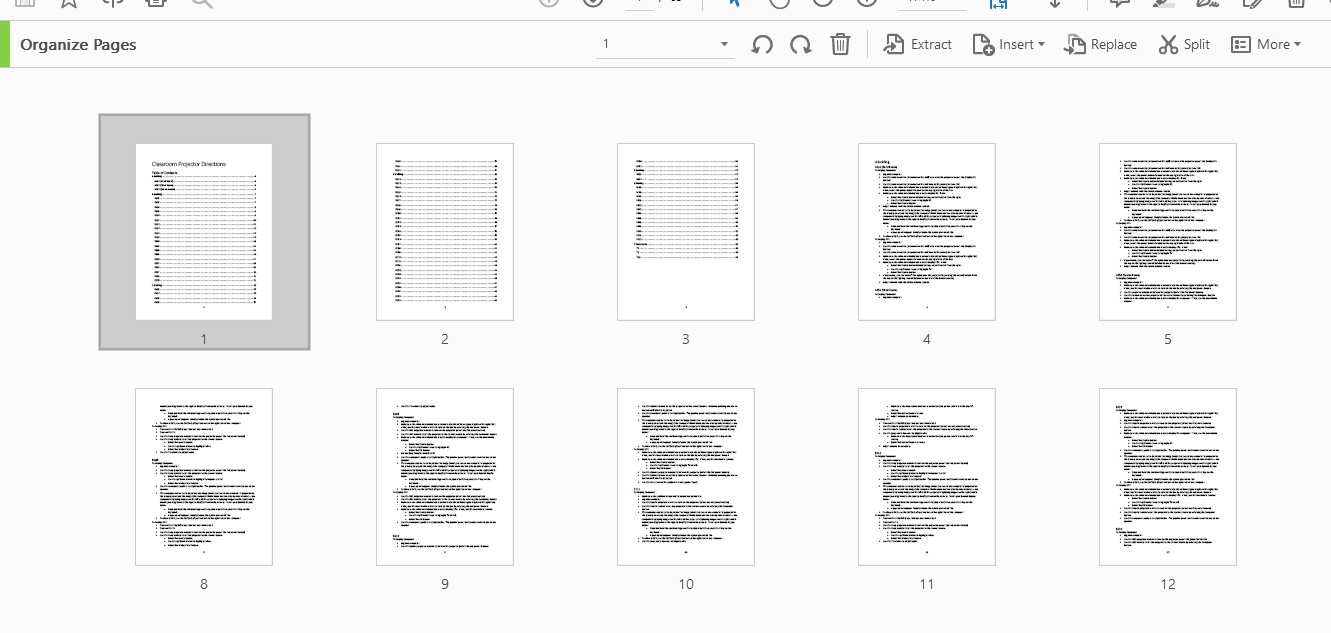


- At the top you will get a variety of other things you can do to pages as well. Things like rotate, delete, extract, insert and much more.

- After you have made your changes, please make sure you save your document.

